The Story Nobody Wants to Be In
It happens the same way every time.

💡 The Lesson
A $45 grab bar and two hours on a Saturday prevents a $34,000 surgery, three months in rehabilitation, and the end of living independently. The math is not close. The only question is whether you do it at 52 while it is easy or at 72 after it becomes urgent.
29M
older adults fall every year in the US — CDC
$50B
annual Medicare cost of fall injuries — CDC
1 in 4
seniors who fracture a hip die within six months — CDC
💬 What Emergency Rooms See Every Night
These are real patterns from CDC and AARP fall prevention research — not theory. The bathroom fall that puts a senior in the hospital follows the same sequence almost every time.
CDC FALL RESEARCH — BATHROOM PATTERN
"The majority of bathroom falls among adults 65+ occur during nighttime toilet trips. The combination of low light, sleep-interrupted balance, and wet or cold floors creates conditions where a grab bar at the toilet is the single highest-value fall prevention intervention available."
Read CDC Fall Prevention →
AARP HOME SAFETY REPORT
"Fewer than 10% of American homes have grab bars installed before a fall occurs. Yet bathroom falls are the leading cause of injury-related emergency room visits for adults over 65. Installation consistently ranks as one of the lowest-cost, highest-impact home modifications available."
Read AARP Home Safety →
THE PATTERN THAT REPEATS
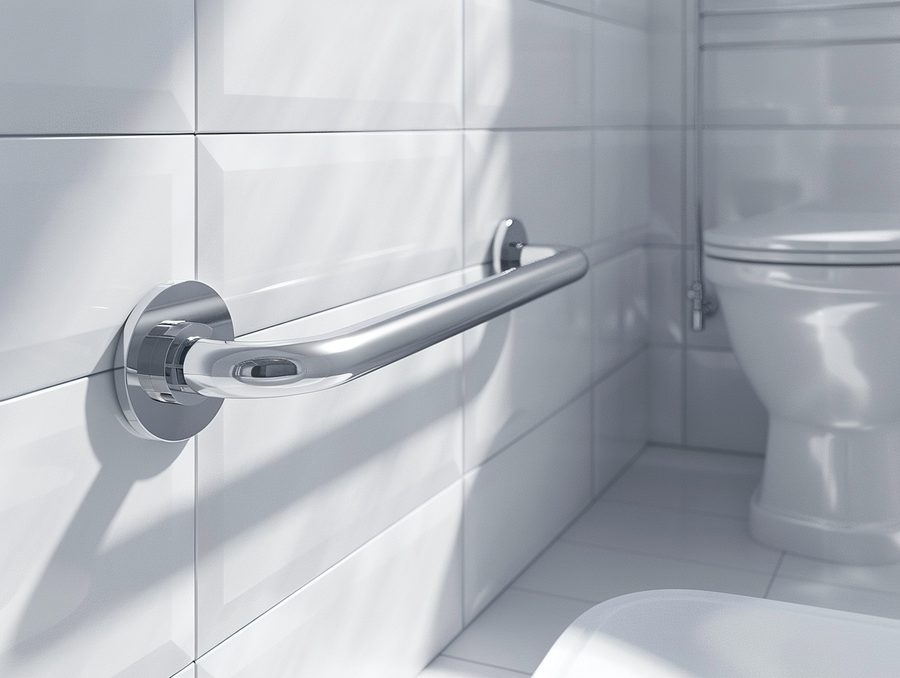
"The towel bar pulled out. Every time. That is what emergency room nurses say when asked about bathroom fall injuries. The patient grabbed what was there. What was there was not rated for load. The bar failed. The patient went down. It is the same story in a thousand different bathrooms."
The universal pattern: something was grabbed, it was not rated for load, it failed. Every correctly installed grab bar eliminates this failure mode entirely.
The bathroom is where it happens. Wet floors. Hard surfaces. Awkward movements getting in and out of a tub. Rising from a toilet seat. All of it in a room designed in 1960 with no thought for what a body needs at 72. The combination kills people every day who would have been fine for another decade with two $45 bars and four hours on a weekend.
 At 50 you can still get on a step stool. You can operate a drill. You can read a level and hit a stud and drive a screw. Your hands work the way you expect them to. Your judgment is intact and entirely yours.
 Rising from a toilet seat is one of the most common fall moments for adults over 65. The quadriceps and knees that made this effortless at 40 require increasing assistance at 70. A side bar gives you something to push against on the way up and lower yourself with on the way down.
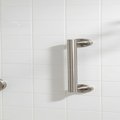 The step over the shower threshold is one of the highest-risk moments in any bathroom. One foot is on a wet shower floor. The other is still outside. You are balanced on nothing for a fraction of a second. A vertical bar at the entry point gives you something solid to hold during that transition.
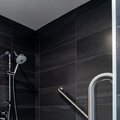 Once inside the shower, you need support during washing — shifting weight, bending, reaching. A horizontal or angled bar along the long wall of the shower gives you a continuous handhold through the full range of movement.
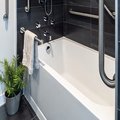 Getting in and out of a bathtub is the single most dangerous bathroom movement for adults over 65. You are swinging one leg over a 15-inch wall while standing on one foot on a bathroom floor that may be wet. You are doing this in reverse when you get out — one wet foot on a wet tub surface, one leg going over the rim.